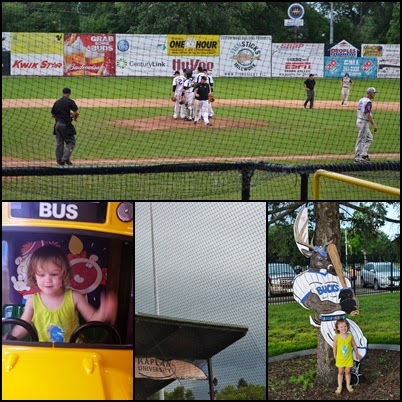
Summer Vacay Dailies- Halfway there

This post marks the enjoyment of half of our summer vacation!  It is just flying by and I'm beginning to think about all the work I need to do before school starts.  Which would be a lot easier to do if I could get in to my classroom and set stuff up, but I guess B&G is installing a new air conditioner over my tile area which can't be waxed until they're finished.  As Cailyn would say- UGH.  Maybe it's God's way of making sure I don't work away the few weeks I have left with the fam before getting back to the grind.  Here's to another fantastic five weeks!

Saturday July 5
Grandmas, Papas, Aunts, Uncles, and Greats came by to celebrate an early birthday for Cailyn.  What's more satisfying than Pizza Ranch broasted chicken and Dairy Queen ice cream cake??  I suppose getting new running shoes, headband craft kit, new clothes, princess goodies, and your first bike might top the food in this case! 


Sunday July 6
This summer marks our 5 year anniversary, so I made Jerod do something special with me.  My mom and sisters stayed with the kids after the party on Saturday and he and I drove up to Minneapolis to spend some time by ourselves.  Of course we had to stop at IKEA so I could get some things for my classroom and then we hit up a restaurant near our hotel.  They just happened to be showing the UFC pay-per-view, so we stayed for over 3 hours having drinks and watching the fights.  Let me just say that drinks up there are not as cheap as they are in Iowa!  Sunday we watched the Yankees play the Twins at Target Field.  Jerod is a huge Yankees fan and loves Derek Jeter, but I had heard he hadn't really been playing a lot of away games so we were ecstatic to see he was in the lineup!  It was amazing to see the crowd reaction to him in his last season before he retires- the entire stadium cheered when he was announced- louder for him than any Twins player.  Goes to show the legacy he has left in the world of baseball.


Monday July 7
Monday night was a varsity double header and the kids and I decided to walk to the field instead of driving.  We should really do that always next year for home games, it's so close!  (But then again, everything in this small town is.)  Remember the rabbit having babies?  Well, we hadn't seen anything for a couple weeks and then we found this little guy.  We saw him for a couple nights after Monday evening, but there were some cats lurking around....I think they my have nabbed him. :( 


Tuesday July 8
First round of districts for softball was on Tuesday, the girls played a good game, but in the end they just didn't make it happen.  However, Colby loved all the cheers they were doing in the dugout- couldn't stop babbling while they were cheering!  We also FINALLY got the back door painted the same as th,e front door, woohoo!

 Wednesday July 9
This was a chill day, working on the garage again, eating powdered donuts for breakfast, and hanging out at a(nother) baseball game- this time with my former fellow baseball widow, Jamie, and the rest of her clan! 

 Thursday July 10
I got my new personalized planner in the mail!!!!  I spent a little extra on this, but it will last me through December 2015 and it's a perfect fit in the diaper bag and my purse, so I can bring it everywhere.  I love being able to write things down rather than put them in an electronic organizer.  I feel like if I write it down I internalize it better and kind of have a little alarm in my memory when something's coming up.  I tried to get a couple more 9 month pics of Colby, painted a wall in the kids' room (that's all I have time for- one wall a day when I have an hour), went to the final home and regular season game, and watched Cailyn try Sour Patch Kids for the first time.  She was not impressed.

 Friday July 11
Happy Birthday to our sweet baby girl!  Leah got her special cupcakes from Scratch Cupcakery- she certainly knows the way to Cailyn's heart.  :)  We didn't do much this day, except prepare for her Mermaid and Pirate party for Saturday.  When asked what we should eat for lunch, Cailyn said pretzels at Sam's- I swear we eat there at least twice a week in the summer.  The evening was a short one for her as she has been refusing to sleep at nap time lately, but then being a crabby pants the rest of the day.  I told Jerod I think I'm too hard on her sometimes because I don't let her get away with anything, but I just want to be consistent.  He reassured me that it's hard now, but it should pay off later.  I can only hope that's true.

Hope you are enjoying this beautiful weather we're going to be having!

Read more...

Summer Vacay Dailies - Cuatro mis amigos

Saturday June 28
The Trojans had the extraordinary opportunity to play at the Waterloo Bucks stadium, and they won the first game!  Which was awesome for them, but meant that we had to find something to do for the next 3 1/2 hours until their second game would start (if it started on time).  We opted to have lunch with Jerod and some of his players and then hit up the mall in Cedar Falls.  It was perfect because Colby slept while we strolled, I got to do some shopping, and Cailyn was able to play on the rides when Colby woke up and ate lunch.  They started the second game but it was stopped during the second inning due to impending monsoon weather!  The drive home was interesting for the first 20 minutes- and by interesting I mean the road was pretty much invisible because it rained so hard.

Sunday June 29
A chill day at home before borrowing a friend's truck to pick up some more drywall and supplies for finishing the rest of our garage project.  Colby is becoming quite the climber, I went to grab a few things out of a tub in the attic and looked down to see him halfway up the ladder!  I had a minor heart attack and tried desperately to hold back the fear in my voice and not startle him while I called for Jerod to come grab him, land alive!!  Also, Cailyn has been in full "selfie" mode lately and I am constantly finding pics she has taken of herself on my Google+ account, such a ham.

Monday June 30
While Jerod got a hair cut the kids and I went to The Ark, a pet shop in Ames, to get an animal fix.  Have you ever had a parrot talk to you?  It's not cute, it's totally creepy- that's the culprit in the top left photo.  My favorite thing to see in the pet shop is the saltwater fish- I would love to have a tank except that would require me to pay for them and upkeep their tank and I'm not committed to that.  It rained ALL DAY on Monday- like, it poured cats and dogs ALL DAY.  There was a river running between ours and our neighbor's house, which is never a good sign for our basement.  We had water leak in again- ugh.  The good news is that we knew to just pull everything back to save the carpet and started ripping out wet carpet pad and sucked the water up right off of the concrete.  Our steamvac was filling up in about 30 seconds flat.  Craziness.  We had some assistance from a good friend of ours and we repaid him with a beer and dinner from a restaurant in town- Lord knows we weren't cooking anything after that fiasco.

Tuesday July 1
Working on the garage, painting pictures bought from the Target dollar bin, attending story time at the library and making paper tambourines, going to the park, and making up rained out baseball games is how we spent our Tuesday.  Easy.  Breezy.
 Wednesday July 2
I have never truly tried to get an actual nice photo of the kids together.  But, Cailyn is going to be 3 and Colby is going to be 9 months so the timing is perfect since I'm taking their milestone pictures anyway.  So we went to the old schoolhouse in town to try some and they were both in moods, but I somehow ended up with a couple great candids.  Thank Heaven for digital cameras!  If I weren't able to take as many photos as possible I would never get a shot!

 Thursday July 3
My mom and a few of my siblings came out for the weekend and traveled with us to an away game at probably the most mosquito-affected site in the conference.  I'm thankful for the cool weather that night, which made it easy to wear long sleeves and pants to protect from those stinky blood suckers.  The boys won a great game to cap off a fun night!
 Friday July 4
Our 4th of July was spent at home with s'mores and sparklers.  There may have been some drinks involved, too.  :)  On this day and everyday I am so thankful for the sacrifices of all the military men and women and their families, that ensure we are able to do these things with our families whenever we want.  Thank you!
 

Read more...

DIY Hollow Core Door Headboard


This post is especially for people who have limited options of where to put a bed without a headboard.  We have a little conundrum in our bedroom because of the four walls: one houses our closet, two have windows, and the other would put our bed right in front of our door and is also the same wall I have a giant mirror hanging.  I'm all for keeping things fresh in the romance department- but a mirror at the head of the bed is...awkward, just awkward. So that leaves the windowed walls...ugh.  [Insert image of pillows falling behind the bed because you can't push the bed against the wall or the curtains will be squished.] 

I just wanted something to make our bed look a little grander, our curtains squish-less, and to keep our pillows on top of the bed.  Under our heads.  Where they should be.

I remembered reading an article about all the different ways you can use hollow core doors in DIY magazine once, and Pinterest-ed it to see how others had transformed them into headboards.  After some browsing, I just decided to wing it.  I bought a door and some 1x4s, and a couple door jamb pieces that I planned to use as a kind of a border frame of sorts and jumped right in to my project. 

Here's my door:
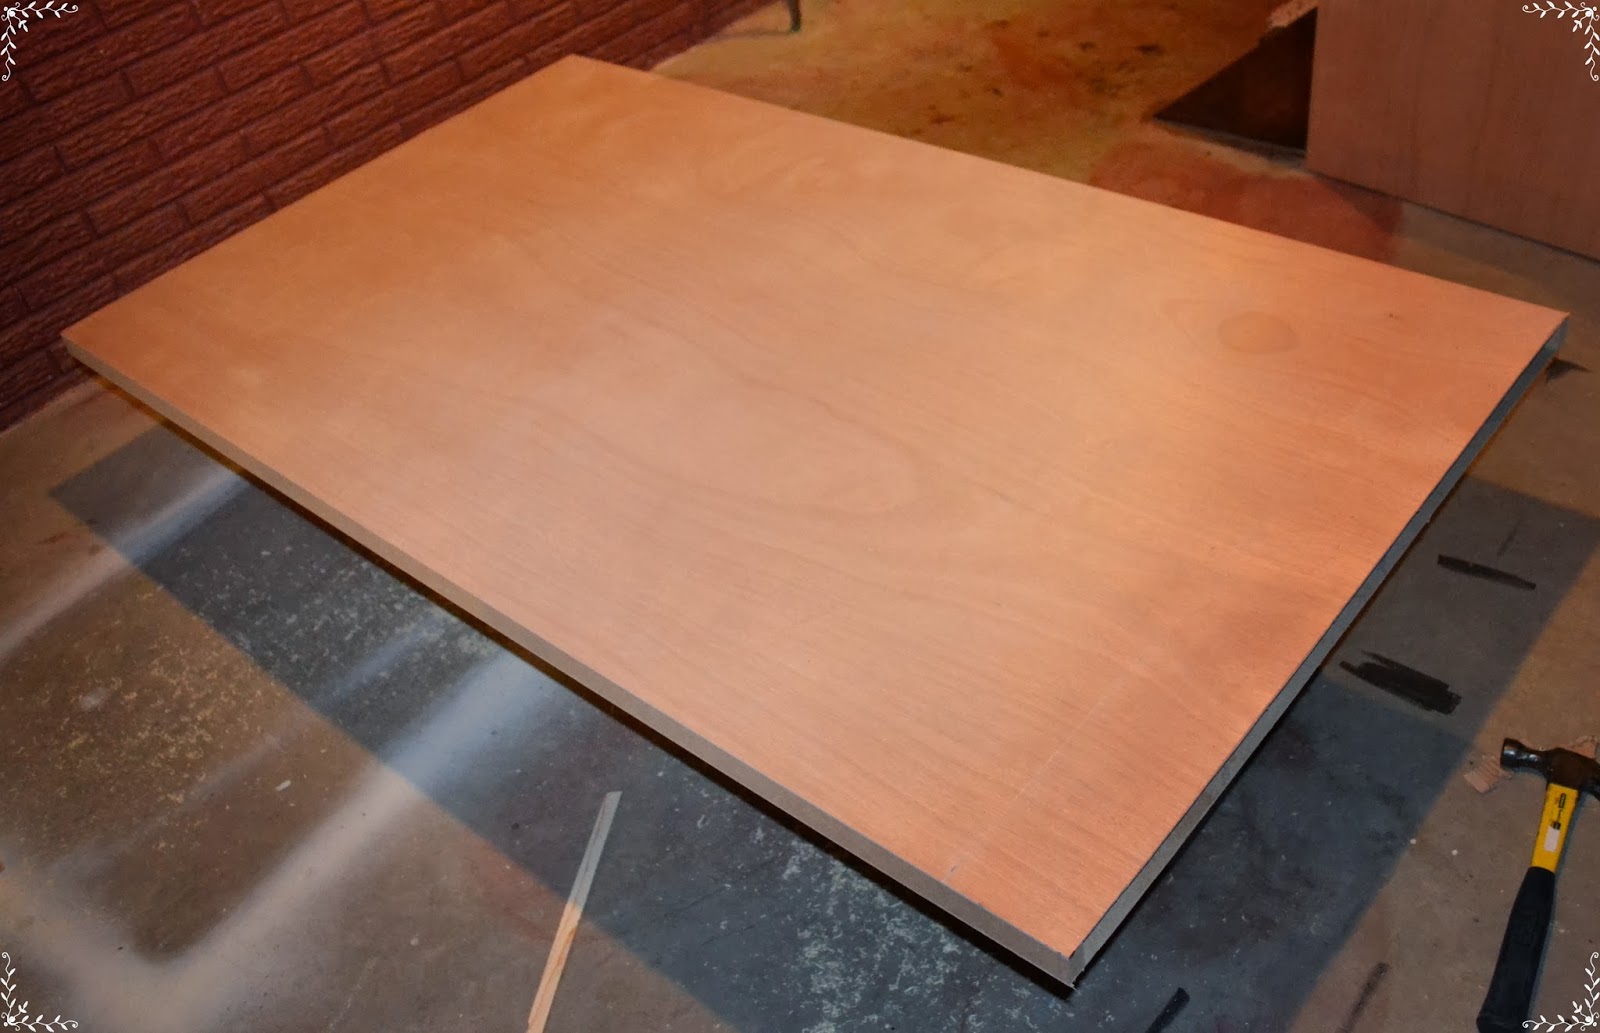
I measured the head end of the bed frame, between the parts that you would attach a headboard to.  That section is slightly wider than the rest of the bed frame, I measured about 62.25 inches for our queen size bed.  But don't take my word for it: Measure twice, cut once.  Or in my opinion, measure at least 5 times!

This is where I measured between, but all the way between the outside edges, of the frame.


Here's my door after meeting my circular saw:


I have a pile of scrap wood sitting in our basement that I was able to pull a piece of 1x4 from and cut it to size to fill the gap.  TIP: Brush wood glue onto your filler piece before you insert it in the space you are filling!  I had some fun trying to squeeze glue in there after the fact!


This is where I stopped.  For about a week.  I was stuck.  I wanted the headboard to be high enough to lean against without having a board in my back, but not too high- our bedroom is no master suite, that would look ridiculous to have such a grand headboard. But I knew the door itself couldn't rest on the floor because that would be too low, and the 1x4's wouldn't support the door off the floor.  Hmmm....

Then, one wintry weather day, we were released from school early and as soon as I looked at my mess I figured out how to make it work.  I measured from the top edge of the bed frame to the floor, it was about 8 inches, but measure for yourself, of course.  I decided I would use 2x4's (which I already had from a basement renovation) to create "legs" for the farthest sides of the door.  I would cut two pieces of 2x4 to 42 inches long (the width of the door plus 8 inches).  Then, I would cut two more pieces of 2x4 to 8 inches in length, these would be attached to the bottom of the 42 inch pieces, they support the door.


I also mitered one end of each 42 inch piece at a 45 degree angle.  I didn't want to be able to see the 2x4 from the front of the headboard.  I drilled pilot holes from top to bottom, then used a countersink bit to shave some wood away from each hole so that I could fill in over the screw heads with wood putty.  I secured the suckers to the door with 2 3/4 inch wood screws, about 6 inches apart along the EDGE of the 2x4. Remember: it's a HOLLOW core door, and the frame of the door is the only thing that's solid.  The small 2x4 went under the door and I attached that with 4 wood screws- one in each corner about an inch in from the edges.


It is important that you drill pilot holes before trying to attach screws, even if you don't drill countersink holes also.  The pilot holes allow a path for the wood screws to grab the 2x4, and ensure the screw goes right where you need it to go.  Without them, the screw will likely get stuck, go in crooked, or splinter your wood.

To attach the headboard to the frame of your bed you'll need to drill holes that match up with the bed frame.  I used a page from a shopping list pad and lined up the top and side to the top and side of the bed frame, then I traced the spaces where you put screws through.  I took the template downstairs, lined the top and side up to the part of the 2x4 that was just beneath the hollow core door and traced over the lines with a pen until marks showed through.  I used the biggest drill bit I had to make large holes for my carriage bolts to fit through easily.


Adding the trim around the headboard was as easy as measuring, mitering, and attaching the pieces with my brad gun.  The pieces I bought were already primed.

This is what it looked like before all the finishing touches.

I filled in all the holes made by the brad gun with wood putty and went over the gaps of the mitered seams, too.  Then, I lightly sanded everything down (door, posts, and all) once the putty was dry.  I didn't want gaps anywhere so I also piped some white silicone along all the seams where any wood had been put together and smoothed that out.   I primed the whole thing with KILZ, and then went back and painted it white with some paint we already had on hand. 


When it was dry I attached it to the bed frame using four carriage bolts, 8 washers, and 4 wing nuts (like this: insert carriage bolt through a washer from the back of the headboard and through the bed frame, secure with another washer and a wing nut; tighten securely).

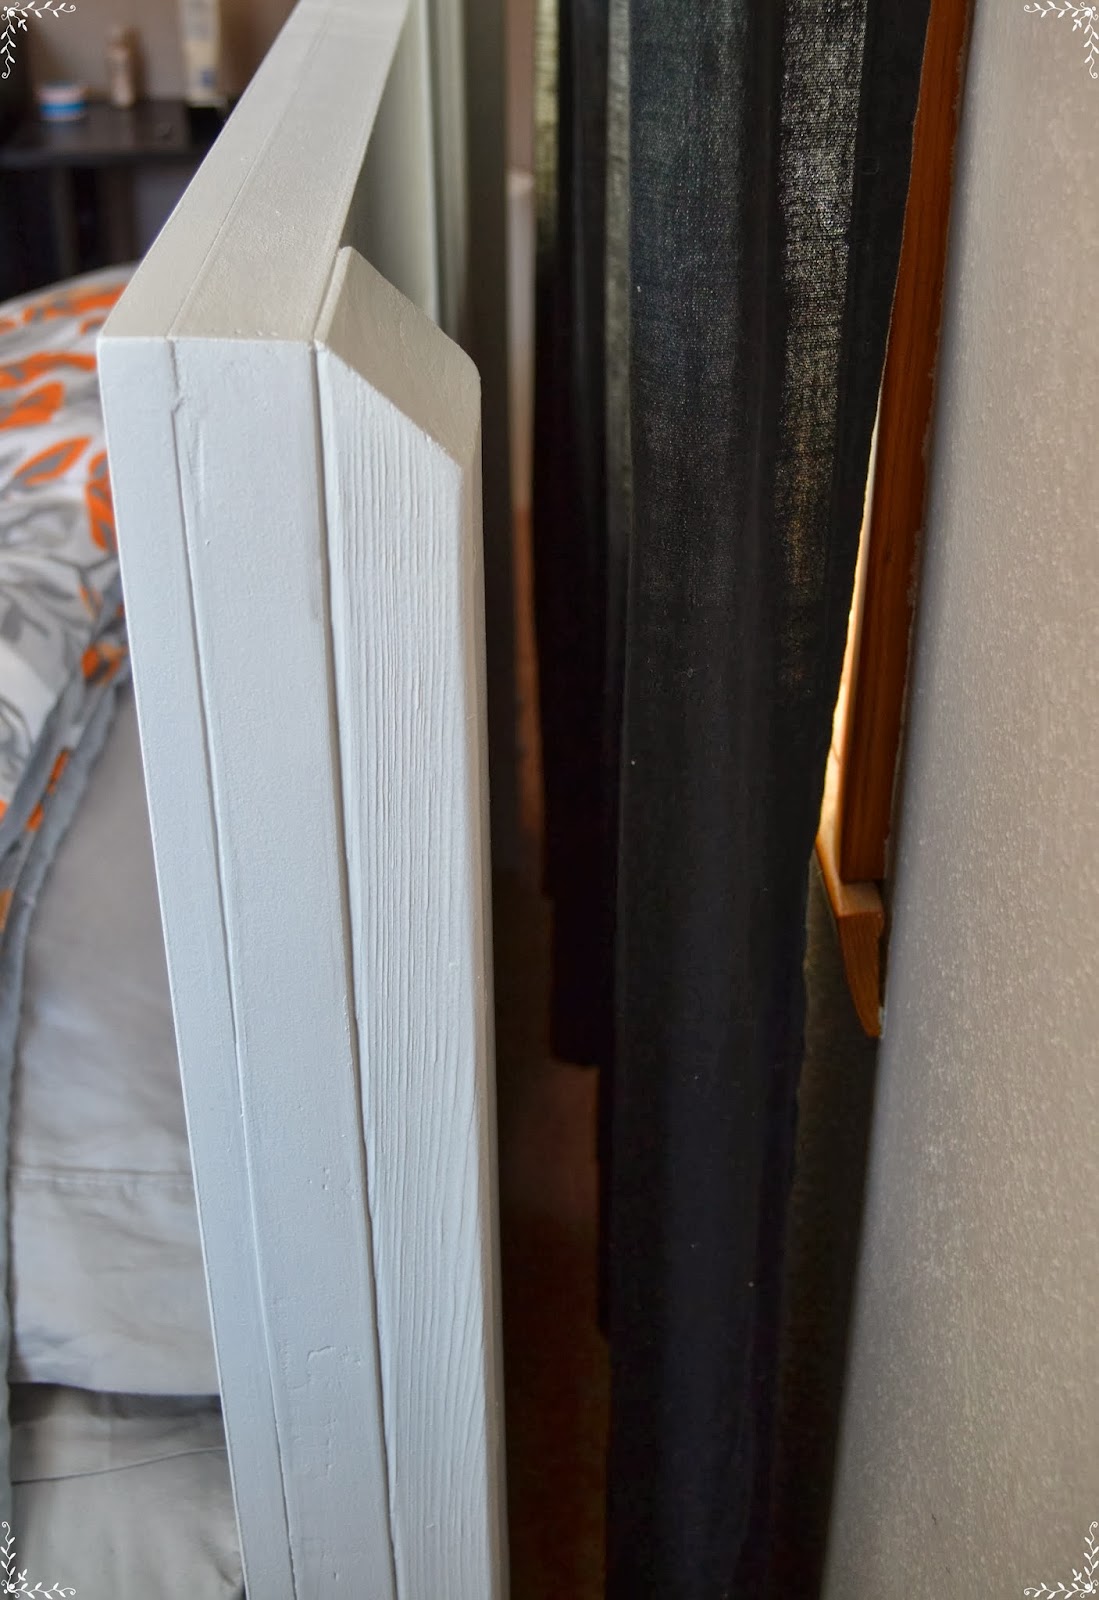
And look!  Plenty of room for the curtains to hang- NO room for pillows to fall behind the bed


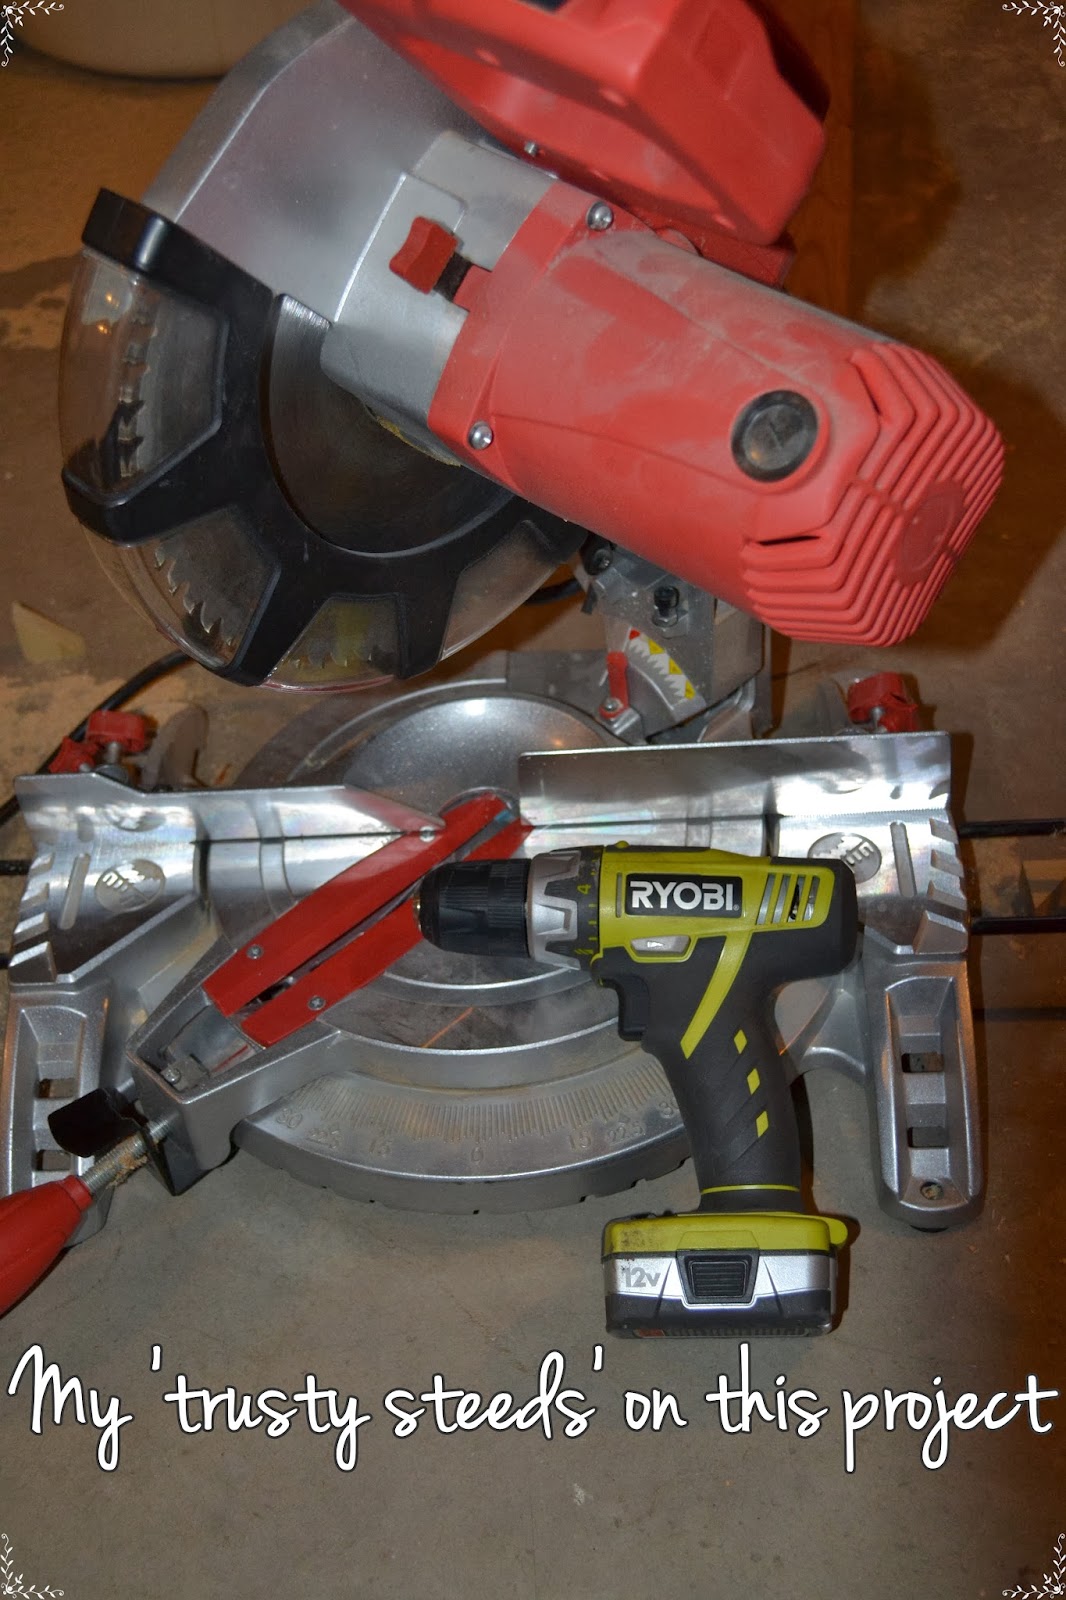
I would have been lost without my miter saw and my cordless drill on this DIY- these are probably my two favorite tools ever!


Other materials used:
1. Clamps
2. 1 3/4" wood screws
3. Measuring tape
4. Wood filler (wood putty)
5. Wood glue
6. 4- 5/16"x4" carriage bolts
7. 4- 5/16" wing nuts

Not pictured but also needed: 8- 5/16" washers, paint


This whole project cost me under $60! 

I hope my trial and error on this DIY have been helpful to you!


Read more...