
DIY: Magnetic Chalkboards


I love me some garage sale-ing in the summer time! However, beings as I've been super pregnant all summer, I didn't get to do much of it this season. I was able to make it out to our city -wide sales, though, and scored some new clothes for our soon-to-debut little man and also a few things for our princess. But, my best purchase was for a set of old metal meal trays, they were selling 12 for ONE DOLLAR!! Looking back, I should have bought the whole stack- there had to have been at least 50-60 of them there, just so I could have more projects to think of and more junk laying around our house!
 |
I'm pretty sure everyone has seen some variation of this type of metal tray in their lifetime- as long as they were born before the year 1990. Does seeing this make you a little nostalgic? I think that may be why I had to have them! |
Anyway, while we were errand-running at Lowe's a few weeks ago, I found chalkboard spray paint! I immediately knew what I could use the metal trays for, and I had all the other supplies at home already, so I didn't need to spend any more money besides the $5.99 for the chalkboard paint. LOVE it when I can use what I already have on hand!

I started by priming the trays with a metal-friendly primer, I like Valspar and Rustoleum primers. I use them in white, gray, and black depending on the project. Obviously, here, I used gray. I wanted something neutral enough for the color on the frame and the black chalkboard paint to cover well. As I said, I started priming them- but then my sweet hubby took over for me on the last 10 because it was about a thousand degrees in these parts last week!
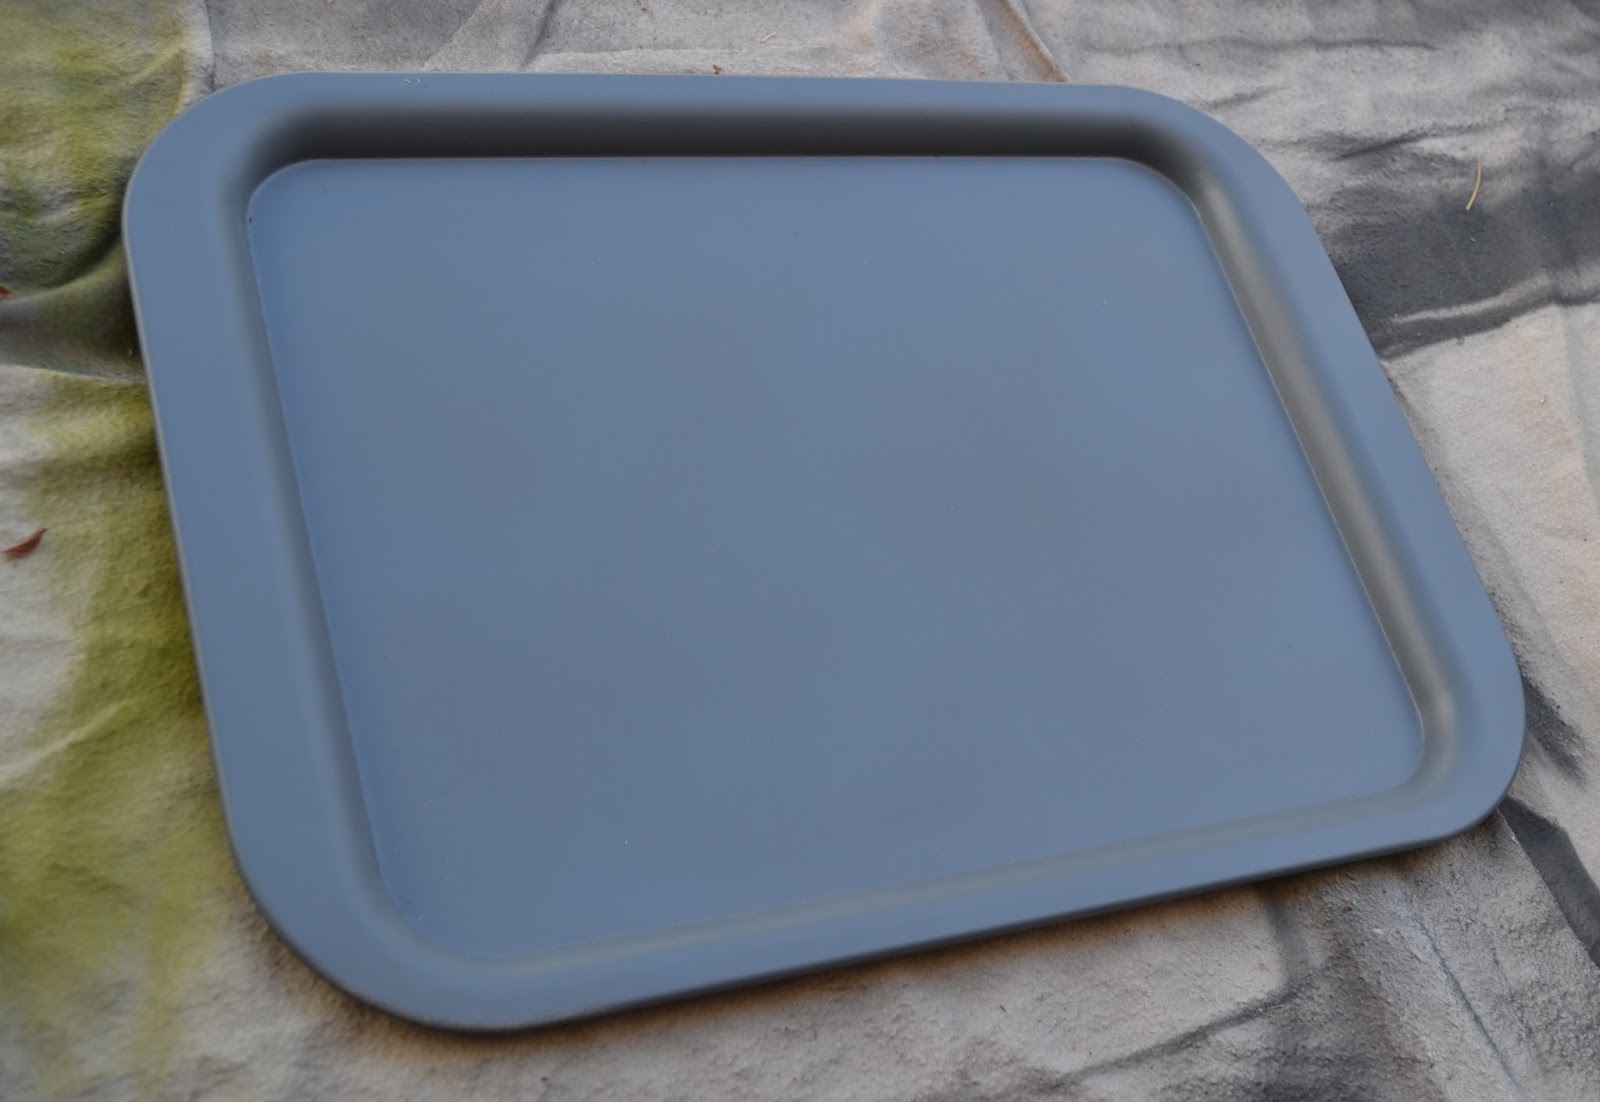 |
| I just did the rims and the top of the tray, I didn't worry about the backs. They were still in good shape, just needed to be wiped down. |
A few hours later, I took various colors of spray paint to the outside areas of the tray. Since the middle was going to be painted with chalkboard paint, I didn't worry about getting paint there.

I waited 24 hours in between spraying on the color and taping. To make the chalkboard area I just taped off a rectangular-ish area using Frog Tape, which is a variation of painter's tape.
 |
| Pardon the change in the color of tray- I forgot to photograph when I taped off the above tray for chalkboard paint. Forgetfulness is pretty much a given for me lately- but I shall have my brains back eventually...if this kid ever decides to come out... |
Next, came a coat (or in some case, two) of chalkboard spray paint. I sprayed it on in left-to-right lines and then filled in areas that I missed the first time over.
 |
| The paint looks splotchy here, but I think that's because I took this photo right after applying it, so it's still wet. |
I waited another few hours and removed the Frog Tape to reveal a great product- I can't wait to use them in my preschool classroom, and, of course, to leave a couple at home for our bubba girl! I should also mention that even though I took the tape off after a few hours, I let the chalkboard paint cure overnight before stacking the trays or trying to write on them- just FYI.

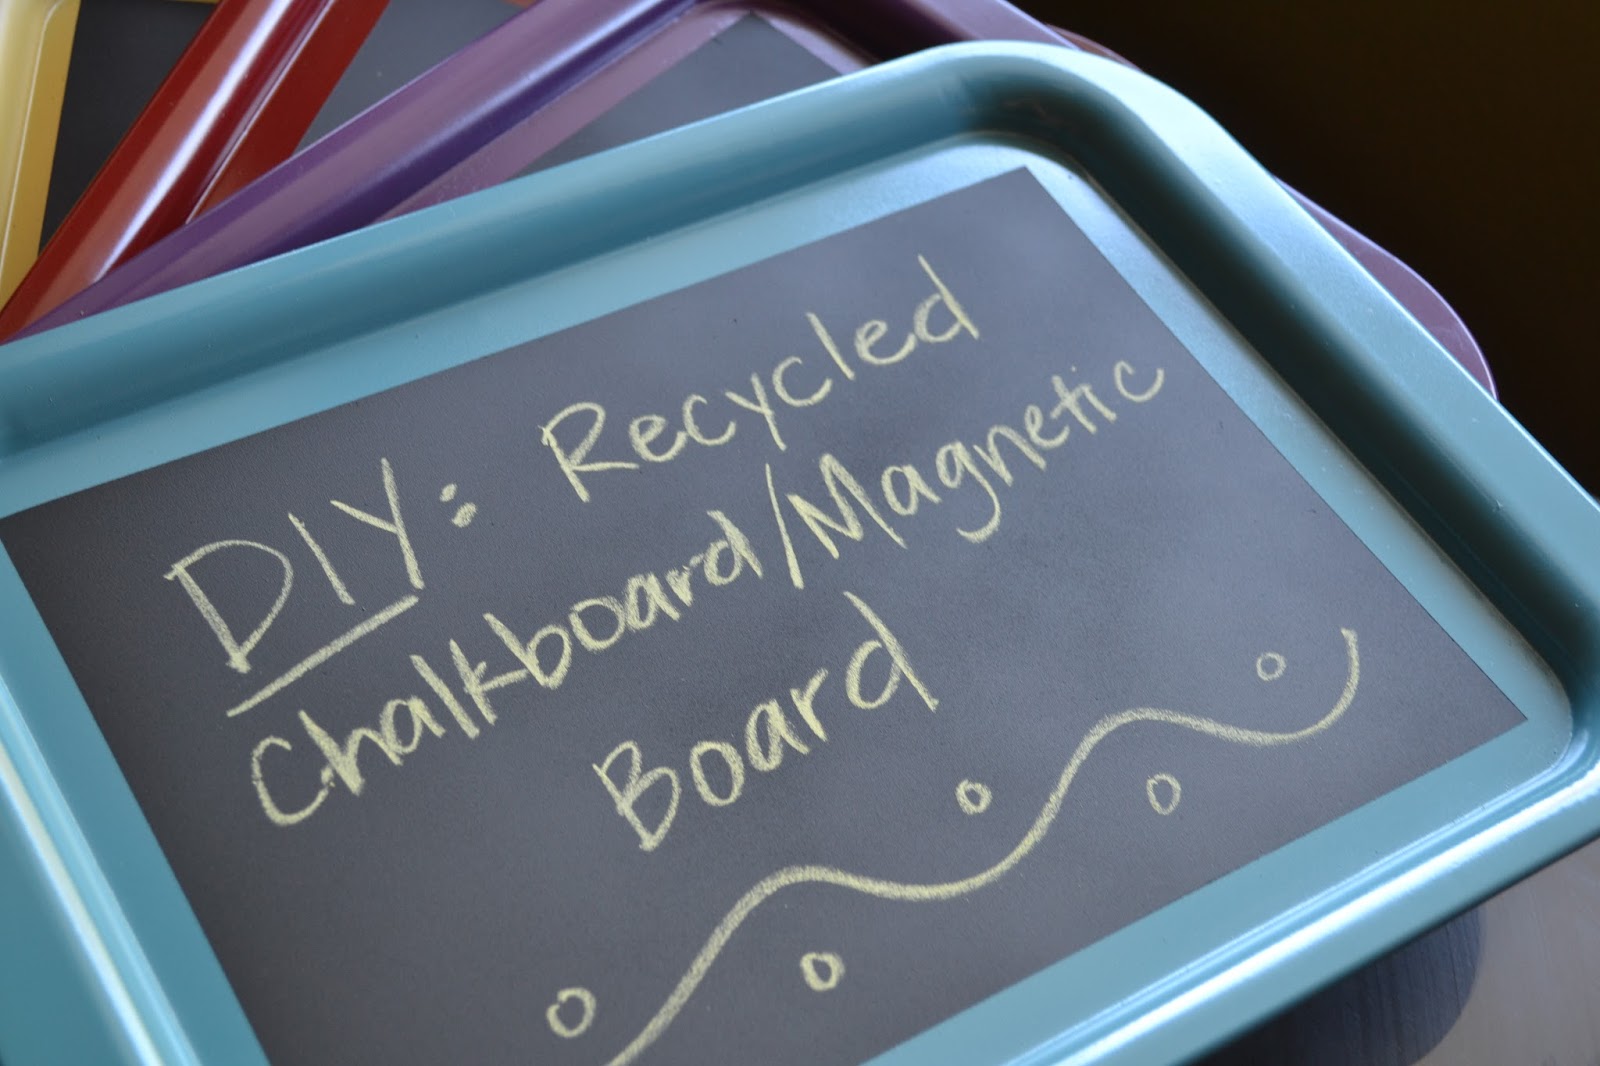
These are the variations of colors that I sprayed on to the trays:

From left to right:
1. Krylon Gloss in Rich Plum
2. Valspar Gloss in Autumn Crush
3. Rustoleum Painter's Touch Satin in Lagoon
4. Rustoleum Gloss in Glossy Fern
5. Rustoleum Painter's Touch Gloss in Colonial Red
6. Valspar Gloss in Mediterranean
7. Valspar Satin in Golden Maize
I have lots of "stuff" sitting in our garage that I won't let JB toss because 'I want to reuse it', and most of it is in the form of old wood from redoing our closet shelves. I plan on making a mini-series of Upcycling projects- I'm not just reusing this stuff I'm making it better! Stay tuned for more from: The Upcycling Series!
Read more...
