
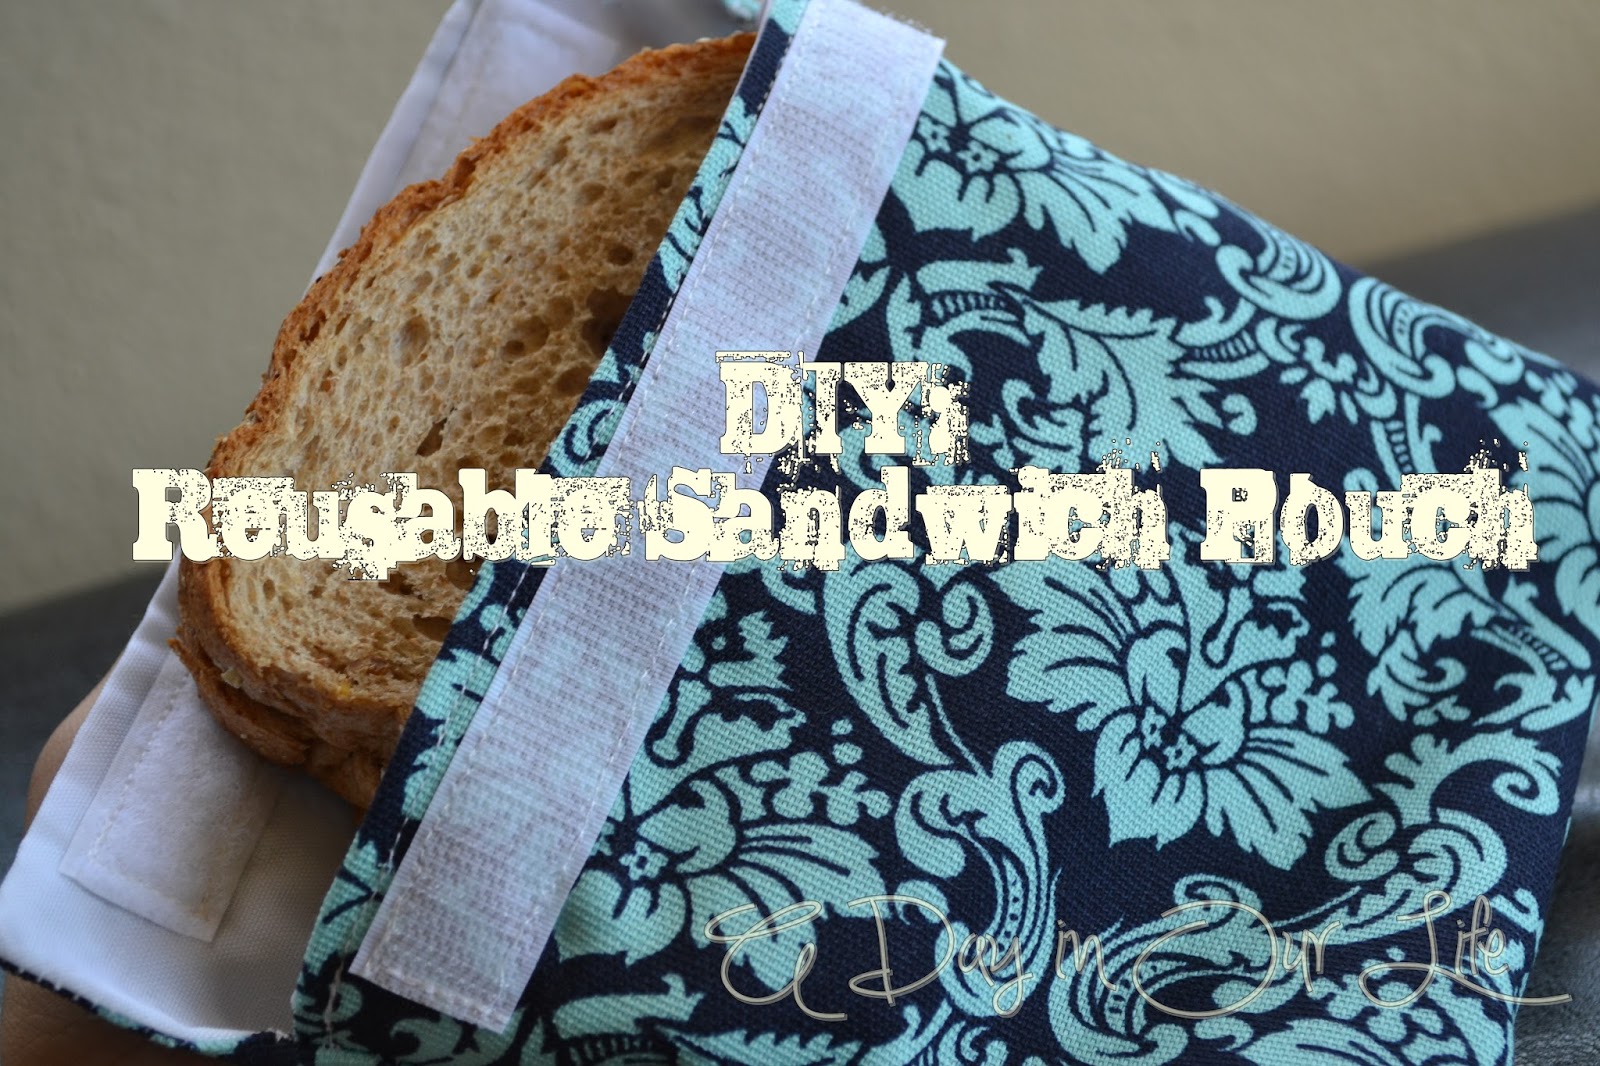
DIY Reusable Sandwich Pouch

A few years ago I had purchased these Wrap-n-mats online when they were having a deal and we really got our use out of them. So much so, that that the plastic lining has since become annihilated from being washed, and sometimes accidentally dried in the dryer, and folded and unfolded, etc. However, I didn't want to spend the money on them again because I couldn't get a deal like I did before and I knew I could make something that would work just as well! Our local JoAnn's fabric store was having a sale on Home Decor fabrics and had some good coupons I could us, including 40% off an regular-priced item and an extra 25% off my entire purchase when I showed my teacher ID. So I ended up being able to get material and notions for a great price!
You'll need: Durable fabric for the outer shell (I used Home Decor fabric)
Rip stop nylon for the inner lining
Hook and loop fastener (also known as Velcro), the kind you sew on, not the sticky kind
Thread to match either your outer shell or your lining, your choice
Sewing machine (you can do it by hand, but oh. my. goodness. I would not recomment it!)
 | |
| As I said, I used Home Decor fabric for the outside of my sandwich pouches, and since I wanted the inside lining to wipe down easily, I chose rip-stop nylon. Bread and snacks can slide in and out easily, too. I chose white since I knew I would have way more nylon than necessary and it will go with any other color fabric. I already had white thread so the only other thing I needed was velcro, both hook and loop sides. |
 |
| I made my own pattern by first measuring some slices of bread- across the width and crust, and then all the way around 2 slices put together- ya know, like a sandwich! Then I added an inch to both measurements and traced out a template onto some stiff felt I had lyin' around the craft room. See below. |
 |
| This is what my patter looked like originally, until I cut out and constructed two pouches, only to find that they barely fit one slice of bread, let alone two! |
Much Better!
 |
| My final template measured 14 inches by 7.5 inches, allowing plenty of room for seams and a fold over Velcro flap. |
 |
| Use the template to cut pieces of your outer fabric and the lining for your pouch |
 |
| Pin the right sides of each piece together- See below. I couldn't really tell which side was the "right" side of the nylon, so I just put the smoothest feeling side on the inside facing the print side of my outer fabric. |

 |
| I sewed both long sides and one short side using a zig zag stitch. If you want to use a straight stich, it should work fine, but maybe cut your pattern a little wider and longer. Then, fold the open end's edges inside about a quarter of an inch, pin in place, and use a straight stitch to seal it shut. |
 |
| Next, add your Velcro. I put the "hook" piece (or the scratchy side) on one end of the outer layer of fabric so that it wouldn't snag bread when putting sandwiches in or taking them out. The "loop" piece (or soft side) is attached to the opposite end and on the lining side. So, if you were to look at your fabric on one side there would be a piece of Velcro attached at the left and if you then flipped it over the other side of fabric would have the other half of Velcro on the right. Sew the strips in place using a straight stitch and getting as close to the edge of the Velcro as possible. |
 |
| To form the pouch fold the fabric up so that the lining is on the outside, leave a little room at the top for your flap with your "loop" half of the Velcro. |
 |
| Notice, my note- the scratchy "hook" piece should be on the inside when you stitch the sides together to form the pouch. |
 |
| I used the zig zag stitch for this part, too. I went over it twice and made sure to reinforce the end nearest to the flap since it will be tugged at when pulling the pouch open. |
 |
| After you're done stitching each side, turn it right side out and enjoy your reusable sandwich/snack pouch! When you need to clean them, just throw them in the laundry and I would recommend an air dry or low heat. |
Price break down:
Home Decor fabric: green, blue print (1/2 yard of each) - $5.50 (JoAnn's Fabrics)
Rip stop nylon (1 yard) - $3.59 (JoAnn's Fabrics)
Hook and loop fastener (Velcro) - $2.23
White all-purpose thread - Already had on hand
-------------------------------------------------------------------------------------
18 pouches = $0.63 per pouch!
Boo. Yah.
If you check out the website for the Wrap-n-mat, which again are fabulous and do last a long time, you'll see that each one costs $8.99!! Do I need 18 sandwich pouches? Probably not, but I guarantee they'll make great homemade gifts for co-workers, family, friends, etc. once the holidays roll around. I could even sell them for a couple bucks each and still make a little money (which might be necessary given my impending maternity leave and the two weeks of which will be unpaid because I don't have enough time built up).
